Sunday, 23 January 2011
Photoshop Progression
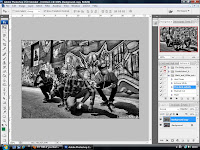
Next I created a duplicate of my original layer, and pressed CTRL+ SHIFT + U to de-saturate it (make it black and white)
After that I made a duplicate of my black and white layer, and changed the option from normal to screen, and changed the opacity from 100% to 50%.
To finalise it, I duplicated my original layer, and put it above all of the layers. Next I changed it from Normal to Overlay and the opacity from 100% to 75%. Then the change of the image is complete, it does to give the image a much more grittier effect, and makes the audience read deep into the emotions of the people within the image.
Photoshop Skills
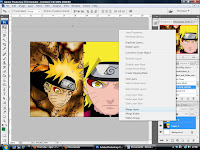 Next I inserted my images so that they were just how I wanted them to be then I merged the images into one layer
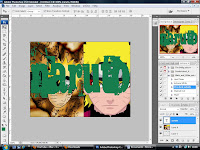 Next I entered text that related to the images, because the main effect I wanted to create was with the text, and I had to make sure the text was over all the layers.
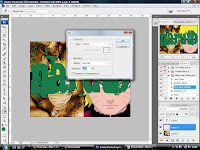 After that was done I had to enter a new layer that was blank inbetween the text layer and the image layer, and fill it in with white.
 I pressed right-click on my top layer and made it a clipping mask, so that my text was had the image within it.
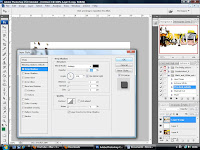 I merged my top two layers and then added a drop shadow with the everything set as it is in the image above.
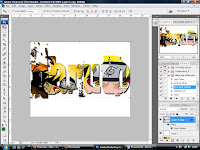 My image in text was then complete, the reason I use this skill is to enforce meaning behind the text to make the audience look at things from my perspective.
Photoshop Skills
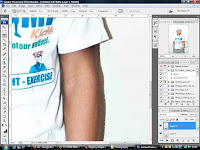
Within this image I used the magnetic lasso tool to cut my main character from the background, it worked successfully as I could then place my character onto any background that suited my needs, in my case it was a plain white one.
 Within this image, I adjusted the brightness and contrast to give the image a far much better definition to make it look far more professional.
Subscribe to:
Comments (Atom)


